Vue.js+WP REST API ハンズオン【Vue.js #3 Advent Calendar 2017】
この記事は公開から8年以上が経過しています。内容が現在の状況と異なる場合があります。
2024/11 追記
現在もJAMStack用途でWP-REST-APIを使いたいという要件を受ける事があるため、
一部でも参考になればと思い移植しました。もし執筆当時、追記とも誤りがある場合お教え頂けたら幸いです。
- Vue CLI は現在メンテナスモードとなっています。
現在はクイックスタートとして、create-vue で同等のことが可能です - create-vueは、Vite 環境になります。記事中のWebpackまわりの設定は、ESBuildとrollupの設定に置換する必要があります
- 同様に、Vueも2.x系(Options API)を例としています。現在は 3系(Composition API)が一般的な実装例となります
- 記事中、認証の部分でnonceの連携のため、クライアントアプリケーションをthemeに設置していますが、実プロダクトにおいてはクライアントをCDNから配信する用途などが多いかと思いますので、サンプルとしてご理解ください
- exampleではありつつフッターにjsを指定するなど粗い部分が目立ちますがご容赦ください
こちらは、Vue.js #3 Advent Calendar 2017 - Qiita、12日目の記事です。
この記事では、Vue.jsとWP REST APIを連携して、簡単な記事表示〜非公開記事をプレビューするまでの手順を、できるだけシンプルにハンズオン形式で書いていこうと思います。
記事中で使うツール
- npm
- vue-cli
- Docker、docker-compose
プロジェクトの作成
vue-cliでサクッと作ります。
今回、プロジェクト名はvue-wp-projectとします。
$ vue init webpack vue-wp-projectVue build以降の設定は、下記の通り選択します。
$ Vue build❯ Runtime + Compiler: recommended for most usersRuntime-only: about 6KB lighter min+gzip, but templates (or any Vue-specific HTML) are ONLY allowed in .vue files - render functions are required elsewhere$ Install vue-router? (Y/n) Y$ Use ESLint to lint your code? (Y/n) n$ Set up unit tests (Y/n) n$ Setup e2e tests with Nightwatch? (Y/n) n最後に、次のメッセージが表示されればプロジェクトの作成は完了です。
vue-cli · Generated "vue-wp-project".
To get started:
cd vue-wp-project npm install npm run dev
Documentation can be found at https://vuejs-templates.github.io/webpack現状のディレクトリマップ
以降、vue-wp-project直下を./と記載します。
vue-wp-project.├─ build│ └─ *.js├─ config│ └─ *.js├─ src│ ├─ assets│ │ └─ logo.png│ ├─ components│ │ └─ HelloWorld.vue│ ├─ router│ │ └─ index.js│ ├─ App.vue│ └─ main.js├─ static├─ .*├─ index.html├─ package.json└─ README.mdWordpress本体のダウンロード
https://ja.wordpress.org/download/ から、Wordpress本体のzipをダウンロードします。
続けて、プロジェクト側に新たに、wwwディレクトリを作成し、www以下にhtmlディレクトリを作り、その中にzipを解凍した中にあるwp-contentをコピーします。
ココまで終えると、次のような構成になります。
vue-wp-project.~略~└─ www/html/wp-contentWordpress Themeの作成
./www/html/wp-content/themes/を開き、新たにsampleという名前でディレクトリを作成して、header.php、footer.php、index.php、functions.php、style.cssの5ファイルを作り、それぞれ下記の通り書き換えていきます。
/*Theme Name: SAMPLETheme URI:Description:Version: 0.1*/<!DOCTYPE html><html lang="ja"> <head> <meta charset="utf-8"> <meta http-equiv="X-UA-Compatible" content="IE=edge"> <title><?php echo the_title()?></title> <meta name="viewport" content="width=device-width, initial-scale=1, maximum-scale=1"> <link rel="stylesheet" href="<?php echo get_template_directory_uri()?>/assets/css/app.css" media="screen"> <?php wp_head() ?> </head> <body> <script src="<?php bloginfo('template_url')?>/assets/js/manifest.js"></script> <script src="<?php bloginfo('template_url')?>/assets/js/vendor.js"></script> <script src="<?php bloginfo('template_url')?>/assets/js/app.js"></script> <?php wp_footer()?> </body></html><?php get_template_part('header')?> <div id="app"></div><?php get_template_part('footer')?>functions.phpに関しては、現状は空のまま進めます。
webpackの設定ファイル書き換え
./config/index.js内、55行目辺りに記述されているbuildのPaths部分を次のように書き換えます。
// PathsassetsRoot: path.resolve(__dirname, '../www/html/wp-content/themes/sample'),assetsSubDirectory: 'assets',assetsPublicPath: '/',さらに、./build/webpack.prod.conf.js内、outputに指定されている.[chunkhash]
と、ExtractTextPlugin部分の.[contenthash]を削除します。
output: { path: config.build.assetsRoot, filename: utils.assetsPath('js/[name].js'), chunkFilename: utils.assetsPath('js/[id].js') },
new ExtractTextPlugin({ filename: utils.assetsPath('css/[name].css'),ここまで終えたら、下記のコマンドを実行します。
$ npm install axios -D && npm install vuex -s$ npm install$ npm run buildWordpressのセットアップ
プロジェクト直下にdocker-compose.ymlを作成します。
version: "2"services: wordpress: image: wordpress:4.9-php5.6 ports: - 6001:80 volumes: - ./www/html/wp-content:/var/www/html/wp-content links: - mysql environment: WORDPRESS_DB_HOST: "mysql:3306" WORDPRESS_DB_NAME: vue-wp-project WORDPRESS_DB_USER: vwp_user WORDPRESS_DB_PASSWORD: testtest mysql: image: mysql:5.7 ports: - 3306:3306 volumes: - db-data:/var/lib/mysql working_dir: /var/sql environment: MYSQL_RANDOM_ROOT_PASSWORD: "yes" MYSQL_DATABASE: vue-wp-project MYSQL_USER: vwp_user MYSQL_PASSWORD: testtestvolumes: db-data: driver: local続けて、次のコマンドを実行します。
$ docker-machine create --driver virtualbox vue-wp-project$ eval $(docker-machine env vue-wp-project)$ docker-compose up -dここまで来るとブラウザから http://192.168.99.100:6001 にアクセスすると、次の画面が出るはずです。
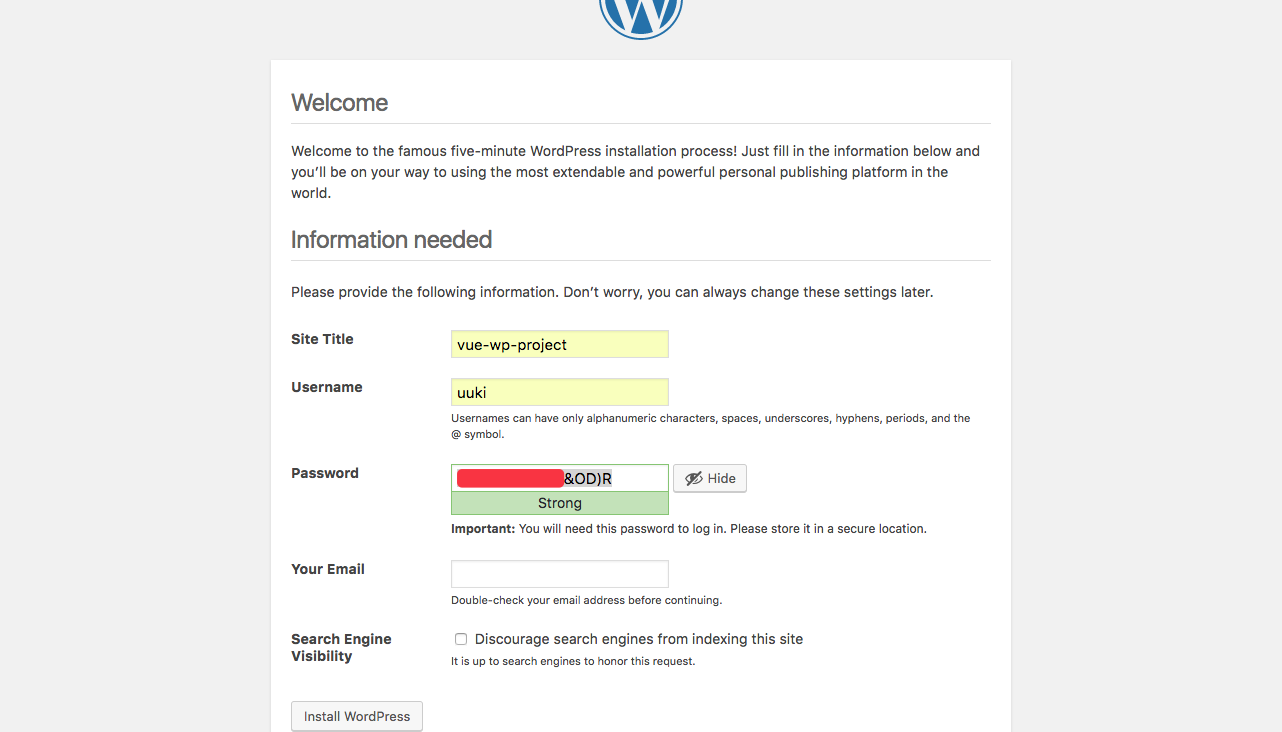
必要な項目を入力し、Install完了後、DashboardのAppearance > Themes
に先ほど作成したテーマの「SAMPLE」が表示されているかと思いますので、「Activate」します。(項目内容に特に指定はありません)

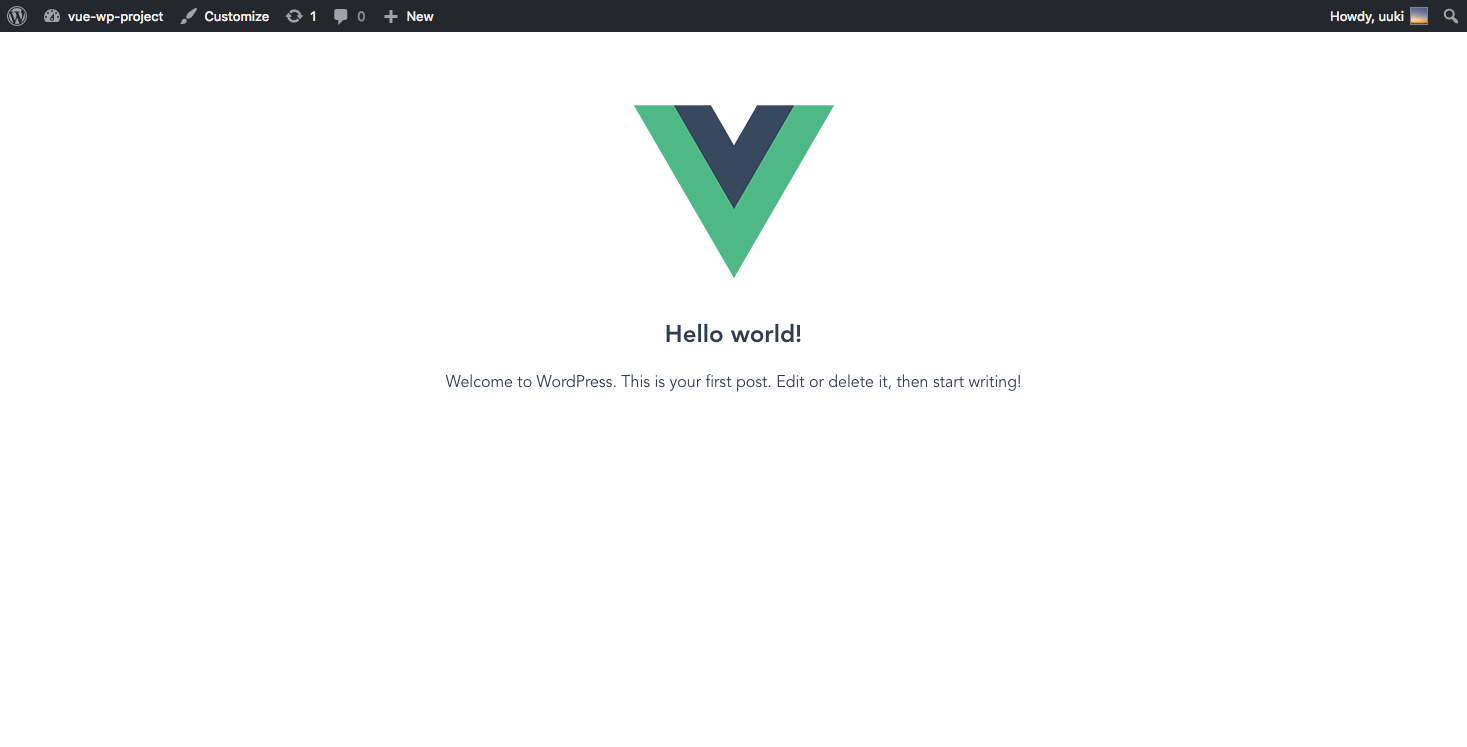
再度 http://192.168.99.100:6001 にアクセスすると、スクショのような画面になっているかと思います。
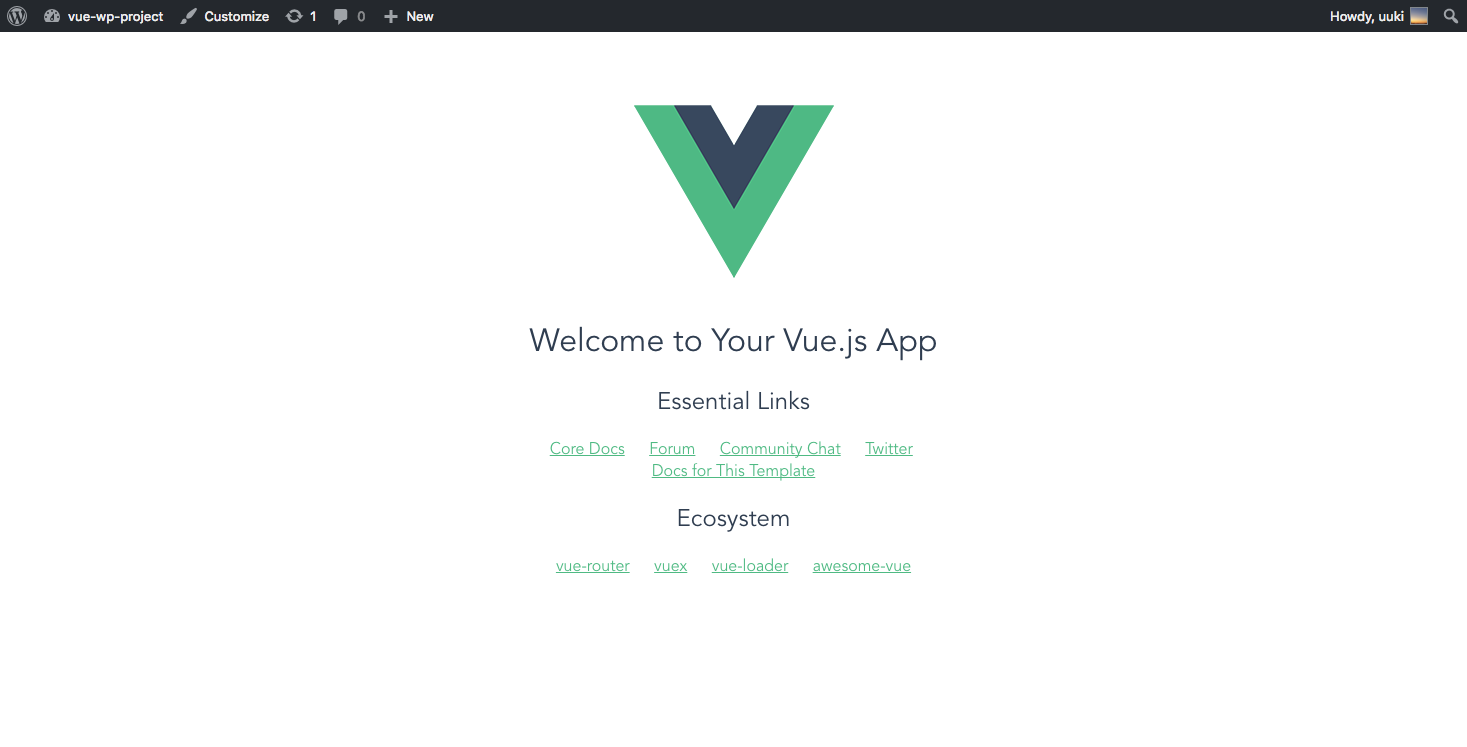
ここまでで、環境構築は終了です。
storeの作成
ここからやっとVue.jsに移ります。まずは、記事取得用の処理の作成です。
./src以下にstoreディレクトリを作成して、index.jsを作成、
さらにstoreディレクトリ内にmodulesディレクトリを作成して、posts.jsを作成します。
各ファイルの中身はそれぞれ下記のようにします。
import Vue from 'vue';import Vuex from 'vuex';
import modulePosts from './modules/posts';
Vue.use(Vuex);
export default new Vuex.Store({ modules: { posts: modulePosts, },});posts.js側では、actionsにfetchPostsという処理を書き、dispatch時にWP REST APIの/postsエンドポイントで記事を取得して、stateのpostsへ保存するようにします。
import axios from 'axios'
const api = axios.create({ baseURL: 'http://192.168.99.100:6001/wp-json/wp/v2'});
const stateObject = { posts: []};
const getters = { posts(state) { return state.posts }};
const mutations = { SAVE_POSTS(state, posts) { state.posts = posts }};
const actions = { 'fetchPosts': ({ state, commit }, id) => { const _id = id ? `/${id}` : '';
return api.get(`/posts${_id}`).then(res => { commit('SAVE_POSTS', res.data); }); }};
export default { namespaced: true, state: stateObject, getters, mutations, actions,};main.jsにstoreを追記
./src/main.jsにstoreを追記し、コンポーネントから取得できるようにします。
// The Vue build version to load with the `import` command// (runtime-only or standalone) has been set in webpack.base.conf with an alias.import Vue from 'vue'import App from './App'import router from './router'import store from './store'
Vue.config.productionTip = false
new Vue({ router, store, render: h => h(App)}).$mount('#app')記事表示用コンポーネントの作成
記事一覧、記事詳細を表示するためのコンポーネントを、./src/components以下に作成します。
<template> <div> <h1>記事一覧</h1> <div v-for="post in posts" :key="post.id"> <router-link :to="`/article/${ post.id }`">{{ post.slug }}</router-link> </div> </div></template>
<script>import { mapGetters } from 'vuex';
export default { name: 'list', data () { return { } }, computed: { ...mapGetters({ 'posts': 'posts/posts' }) }, methods: { }}</script><template> <article> <h2>{{ posts.title.rendered }}</h2> <div v-html="posts.content.rendered"></div> </article></template>
<script>import { mapGetters } from 'vuex';
export default { name: 'article', data () { return { } }, computed: { ...mapGetters({ 'posts': 'posts/posts' }) },}</script>vue-routerの調整
./src/router/index.jsのルートレコードを下記の通り調整します。
各記事コンポーネントの切り替え前にはfetchPostsをdispatchするようにしています。
import Vue from 'vue'import Router from 'vue-router'import Store from '@/store'
import List from '@/components/list'import Article from '@/components/article'
Vue.use(Router)
export default new Router({ mode: 'history', base: '/', routes: [ { path: '/', name: 'list', component: List, beforeEnter: (to, from, next) => { Store.dispatch('posts/fetchPosts') .then(() => { next() }) } }, { path: '/article/:id', name: 'article', component: Article, beforeEnter: (to, from, next) => { const id = to.params['id']; Store.dispatch('posts/fetchPosts', id) .then(() => { next() }) } } ]})確認〜Wordpressへ展開
ここまで終えたら、$ npm run devを実行し、http://localhost:8080 を確認します。
すると、以下のような画面が出ているかと思います。
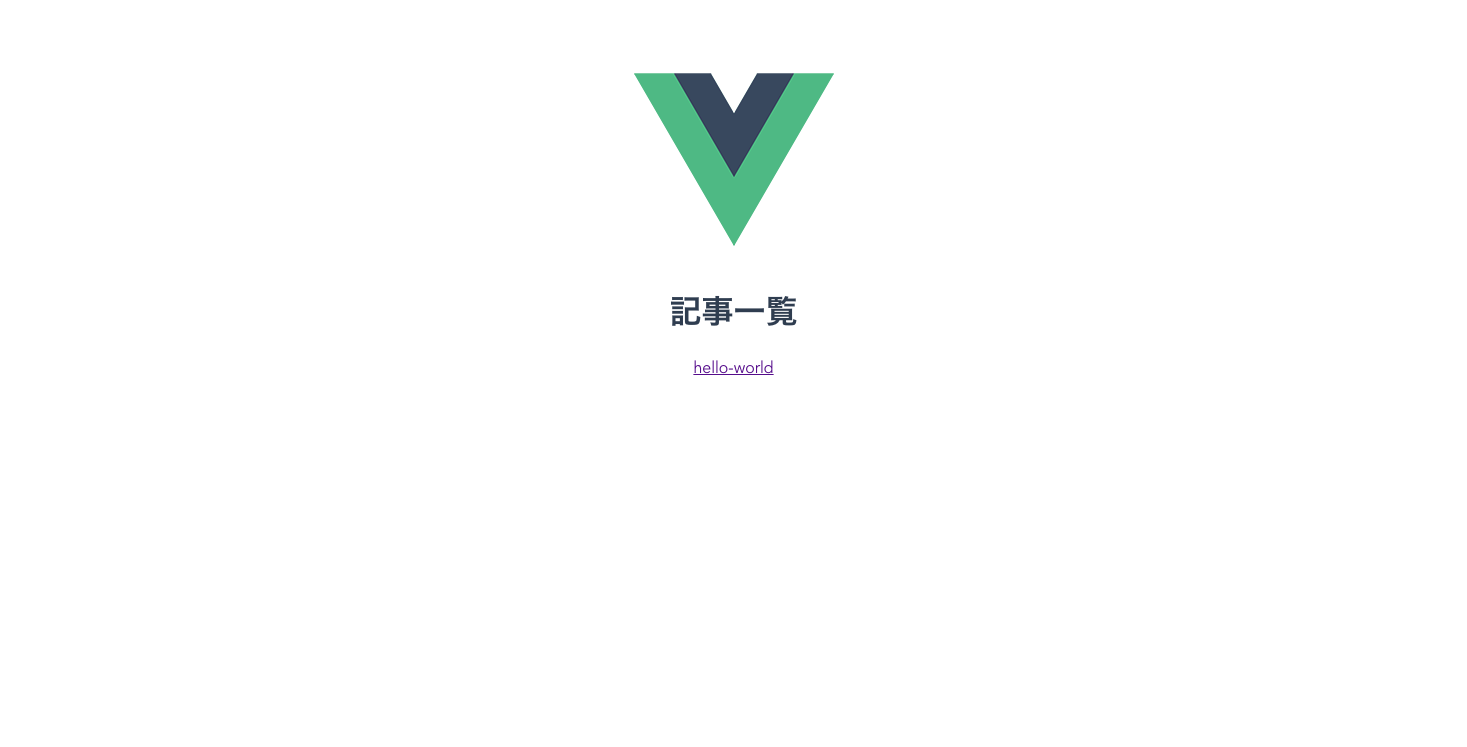
hello-worldのリンクをクリックして、スクショのように記事本文が表示されればOKです。
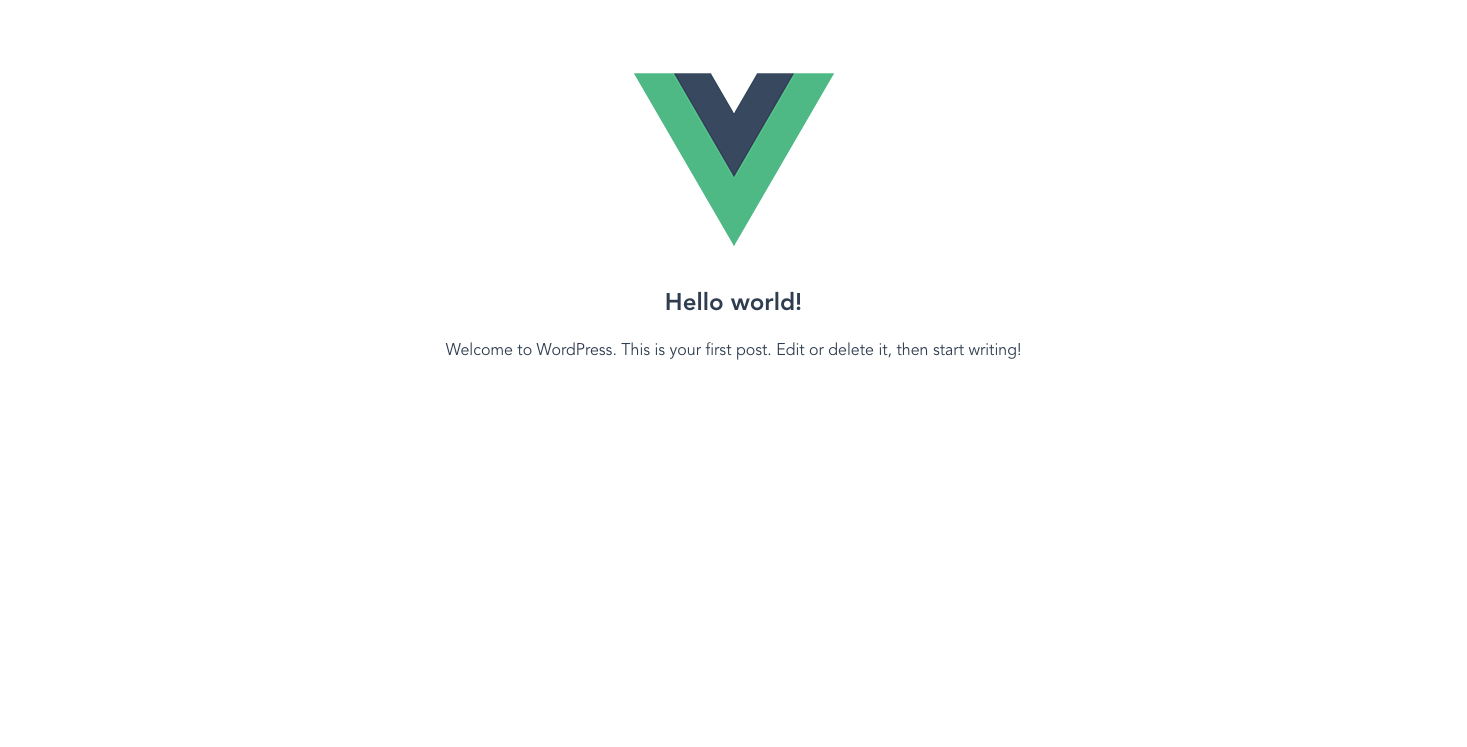
最後に、$ npm run buildでビルドし、Theme側に展開されたら http://192.168.99.100:6001/
へアクセスしてWordpress上でも動作している事が確認できれば、成功です。
非公開記事のプレビュー対応
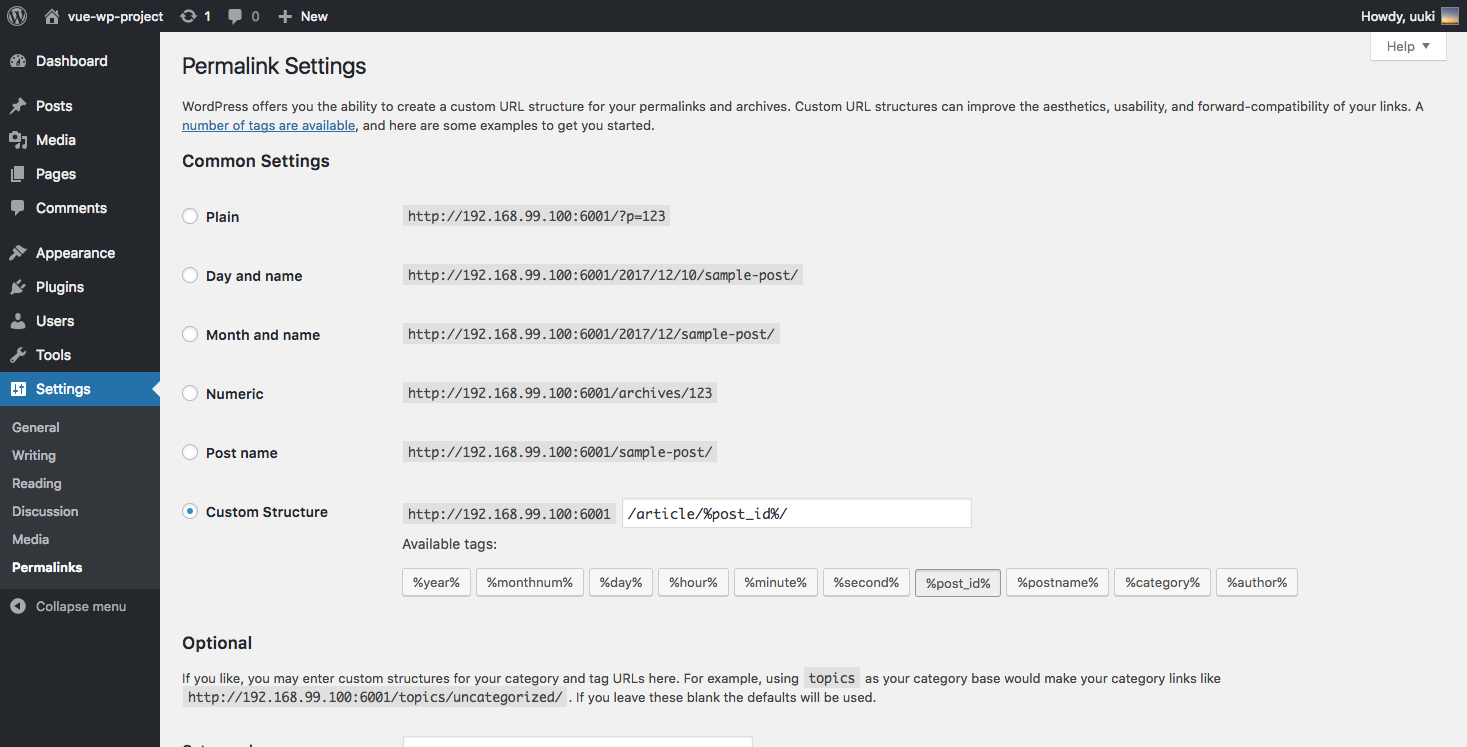
Dashboardを開き、「Settings > Permalinks」で、Common Settingsを「Custom Structure」に変更し、設定をarticle/%post_id%/に書き換えてください。
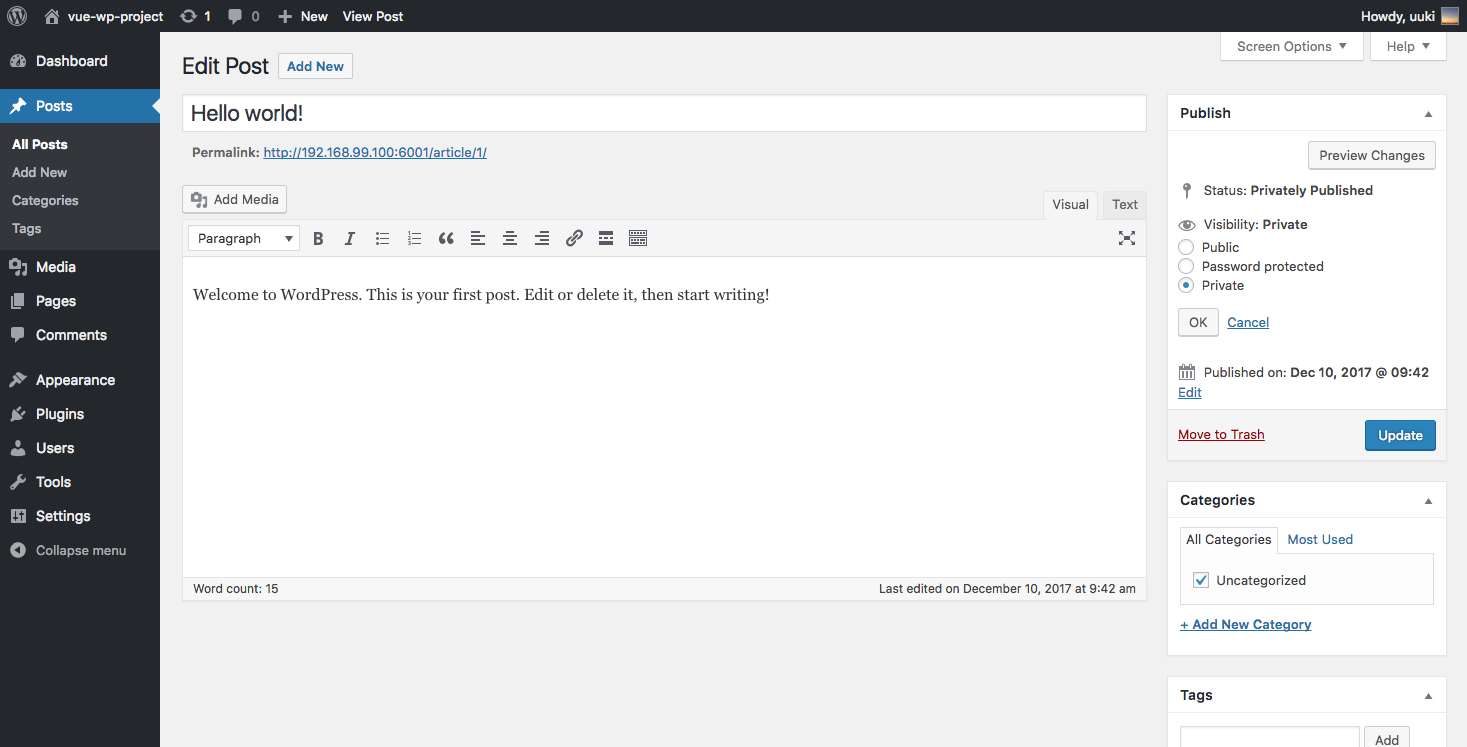
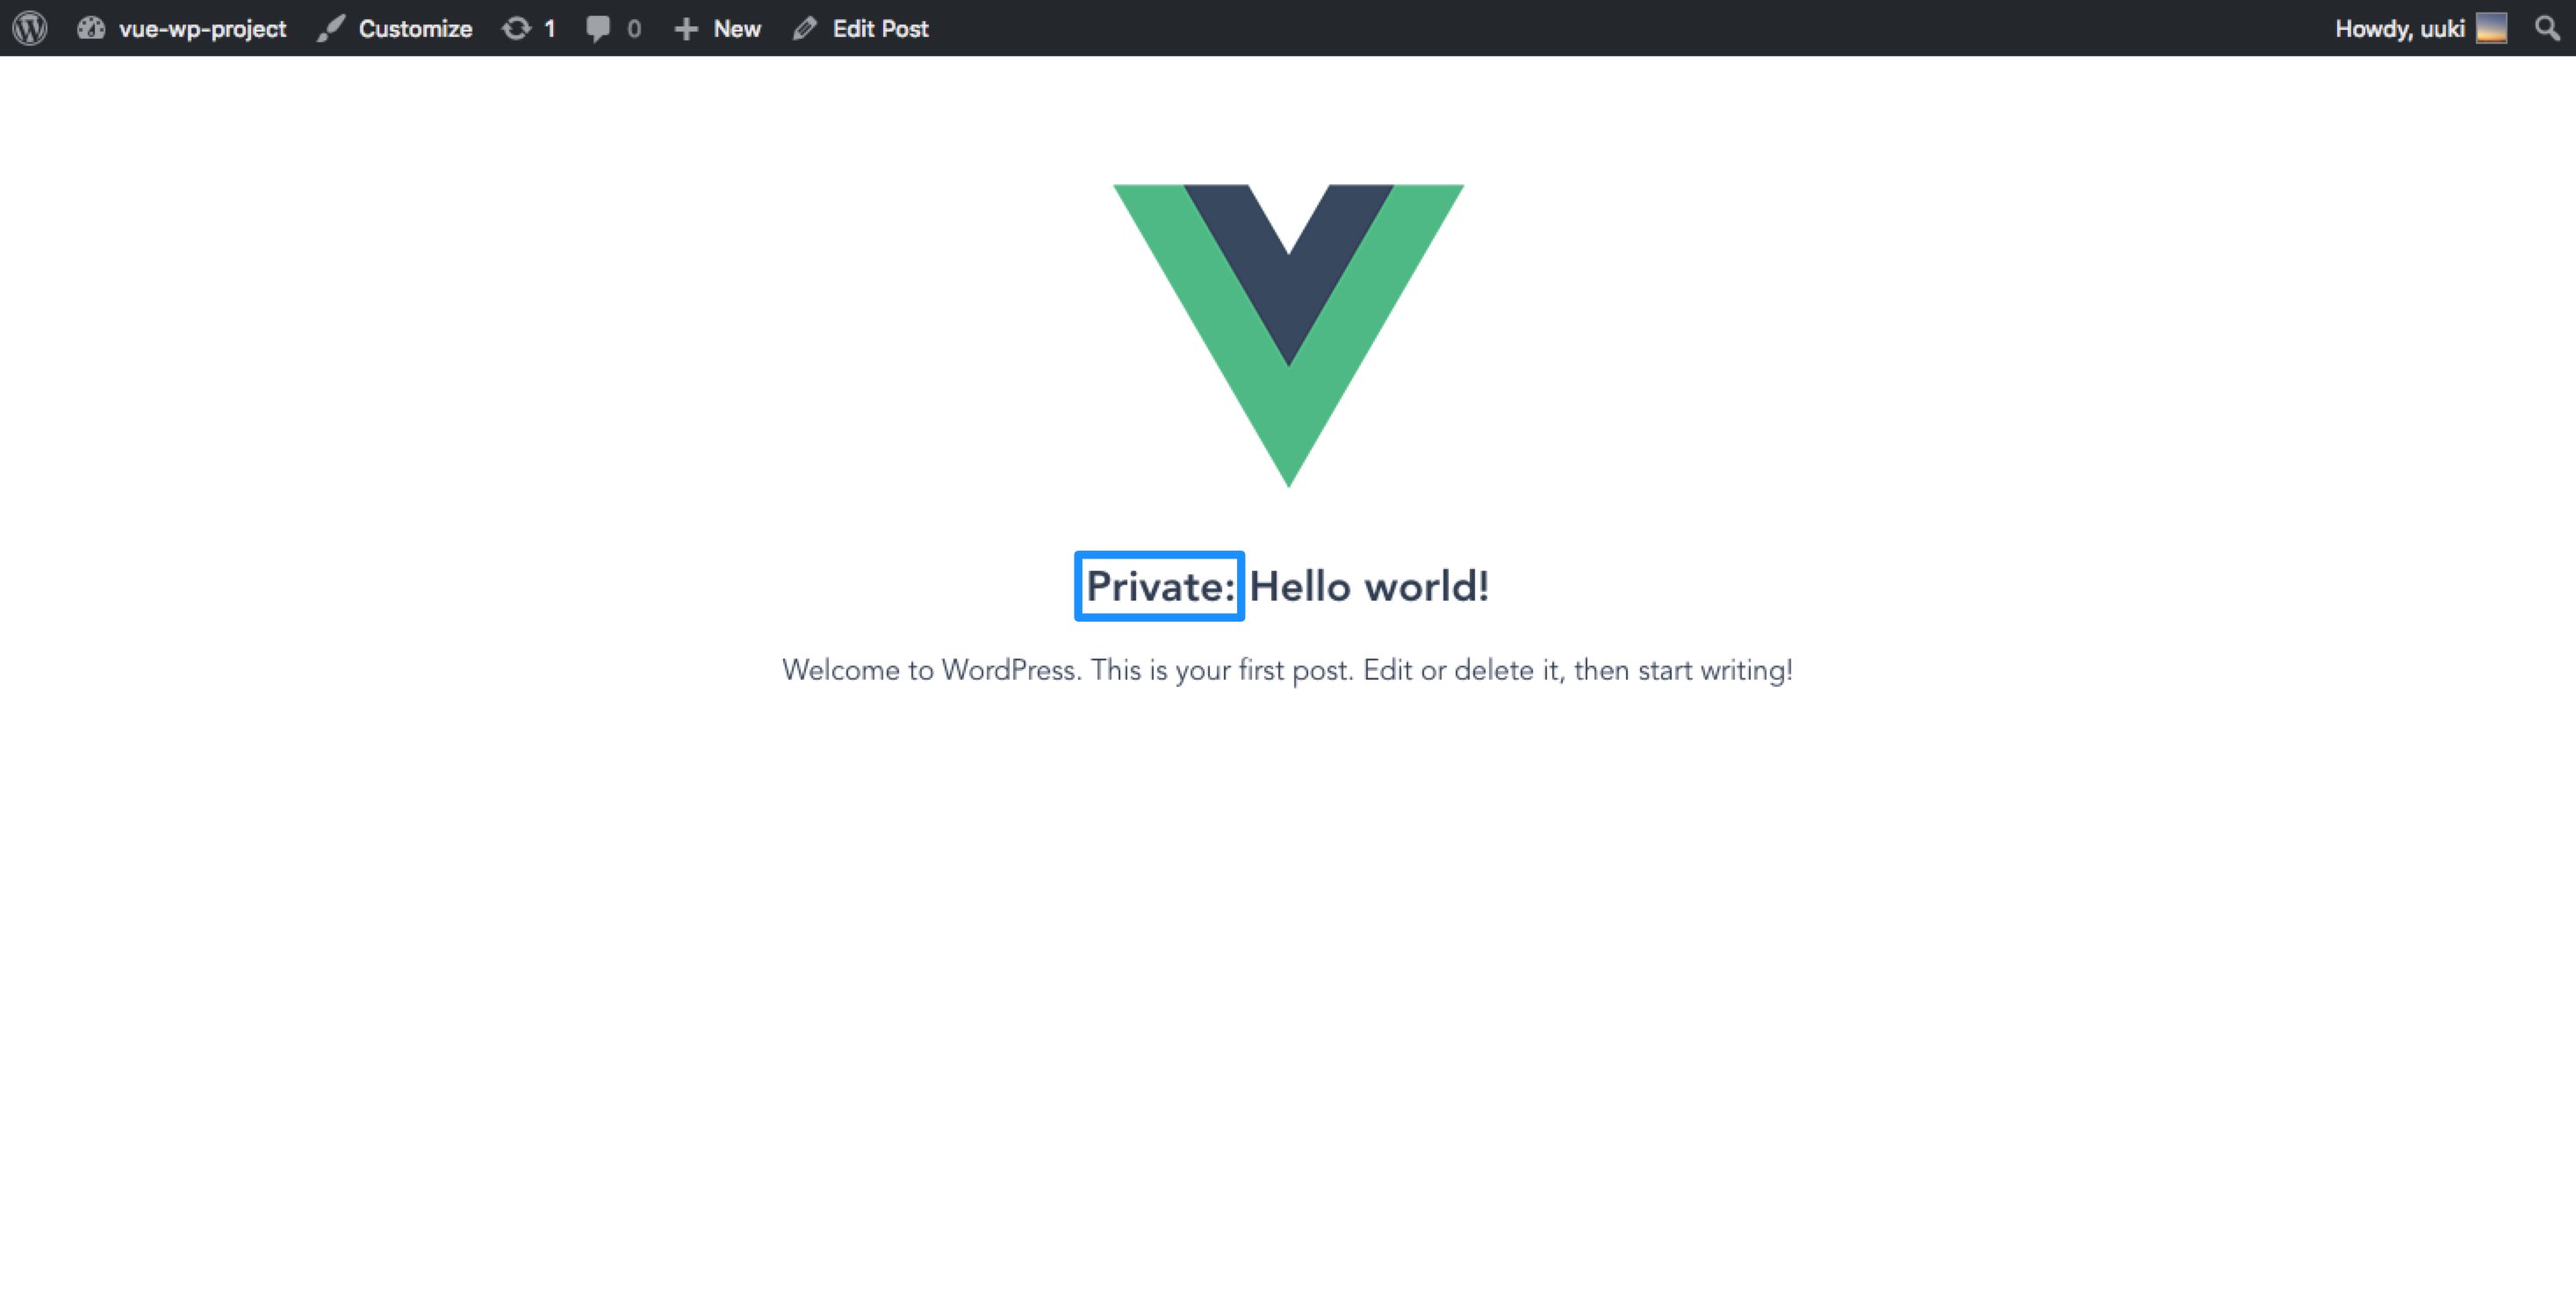
さらに、Postsから「HelloWorld」の記事を一旦、「Private」に変更してみます。
この状態でHello worldをプレビューすると、次のスクショのように、403(閲覧禁止)が返ってきているかと思います。
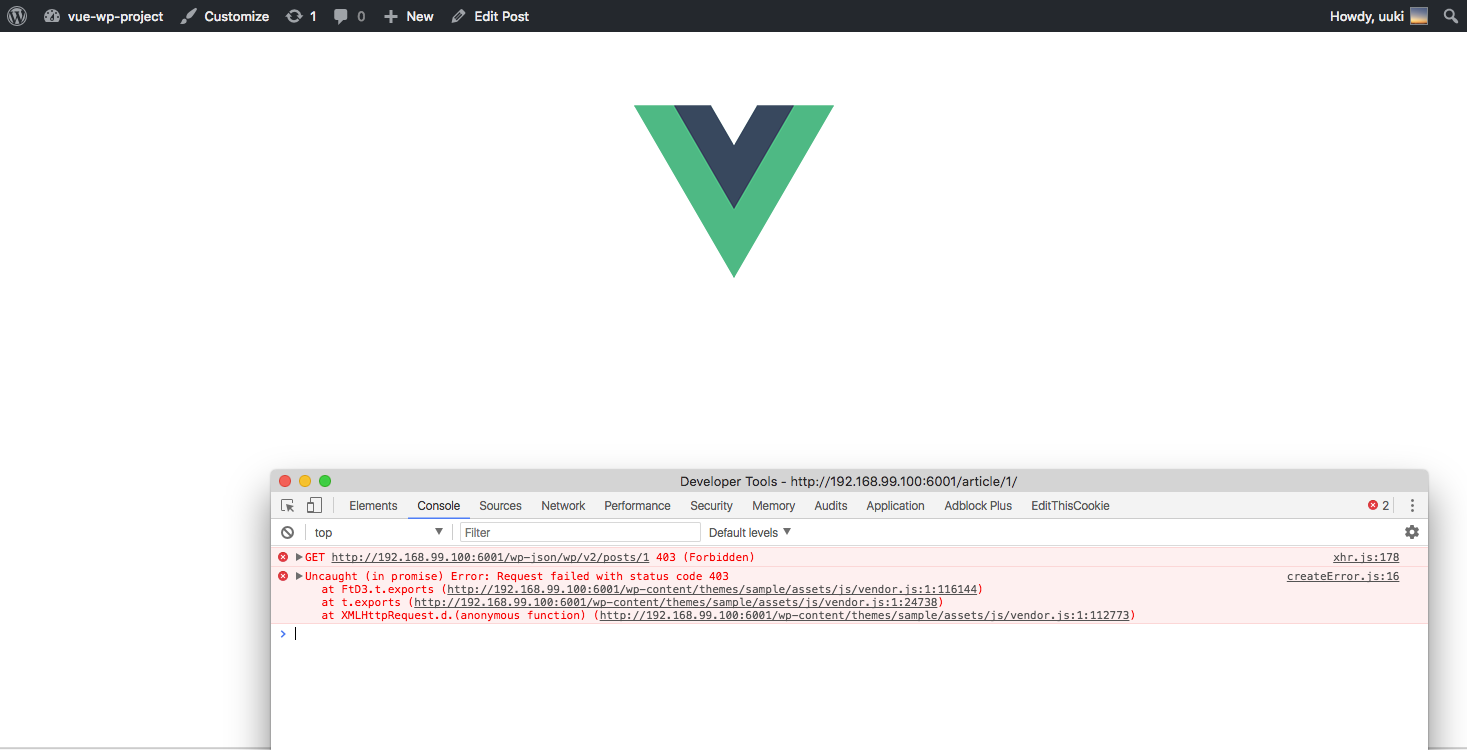
これは、ログインユーザーであるか認証されるためですが、ログインしていても表示されない理由としては、WordpressではCSRF対策のため、“nonce”という一時的なトークンを都度生成しており、現状nonceが、axiosのリクエストヘッダに含まれていない為です。
js側で動的に生成されたnonceを受け取るには、環境構築時の手順で作成していたfunctions.phpに、次のコードを書き込みます。
これで、wp_create_nonceで生成したWP REST API用のnonceを、app.jsが取得できるようになります。
<?phpwp_enqueue_script( 'app', get_template_directory_uri() . '/assets/js/app.js', array(), false, true );wp_localize_script( 'app', 'WP_API_Settings', array( 'root' => esc_url_raw( rest_url() ), 'nonce' => wp_create_nonce( 'wp_rest' )) );この段階で、footer.phpに書いていたapp.jsはコメントアウトしておきます。
<script src="<?php bloginfo('template_url')?>/assets/js/manifest.js"></script> <script src="<?php bloginfo('template_url')?>/assets/js/vendor.js"></script> <!--script src="<?php bloginfo('template_url')?>/assets/js/app.js"></script--> <?php wp_footer()?> </body></html>最後に、./src/store/modules/posts.js の、axios.createしている部分を次のように書き換えれば完了です。
const api = axios.create({ baseURL: 'http://192.168.99.100:6001/wp-json/wp/v2', headers: { 'X-WP-Nonce': window.WP_API_Settings.nonce }});ここまで終えたら、再度npm run buildを行い、http://192.168.99.100:6001/article/1/
にアクセスすると、非公開の記事が表示されているはずです。
最後に
ここまで読んで頂き、ありがとうございました!
私自身、Vue.jsについて正しく理解できていない点がまだまだあり、学習せねばといった感じですが、もしこの記事が何かの足がかりにでもなれば幸いです。